Are you looking to add a personal touch to your belongings, create custom labels for your small business, or simply enjoy a fun DIY project? Learning how to print stickers at home with your Epson XP-7100 is a game-changer. This versatile all-in-one printer is not just for documents; it's a powerful tool for bringing your sticker designs to life, offering vibrant colors and sharp details that can transform everyday items into personalized masterpieces.
Gone are the days of relying on expensive professional printing services for small batches of stickers. With your Epson XP-7100, you gain the freedom to experiment with designs, print on demand, and save money in the long run. This comprehensive guide will walk you through everything you need to know, from choosing the right materials to troubleshooting common printing issues, ensuring your sticker-making journey is smooth and successful.
Table of Contents
- Why the Epson XP-7100 is Ideal for Printing Stickers
- Essential Materials for Sticker Printing at Home
- Designing Your Stickers: Software and Tips
- Preparing Your Epson XP-7100 for Sticker Printing
- The Printing Process: Step-by-Step Guide
- Cutting Your Stickers: Manual vs. Machine
- Troubleshooting Common Printing Issues with Your Epson XP-7100
- Tips for Long-Lasting Stickers and Maintenance
Why the Epson XP-7100 is Ideal for Printing Stickers
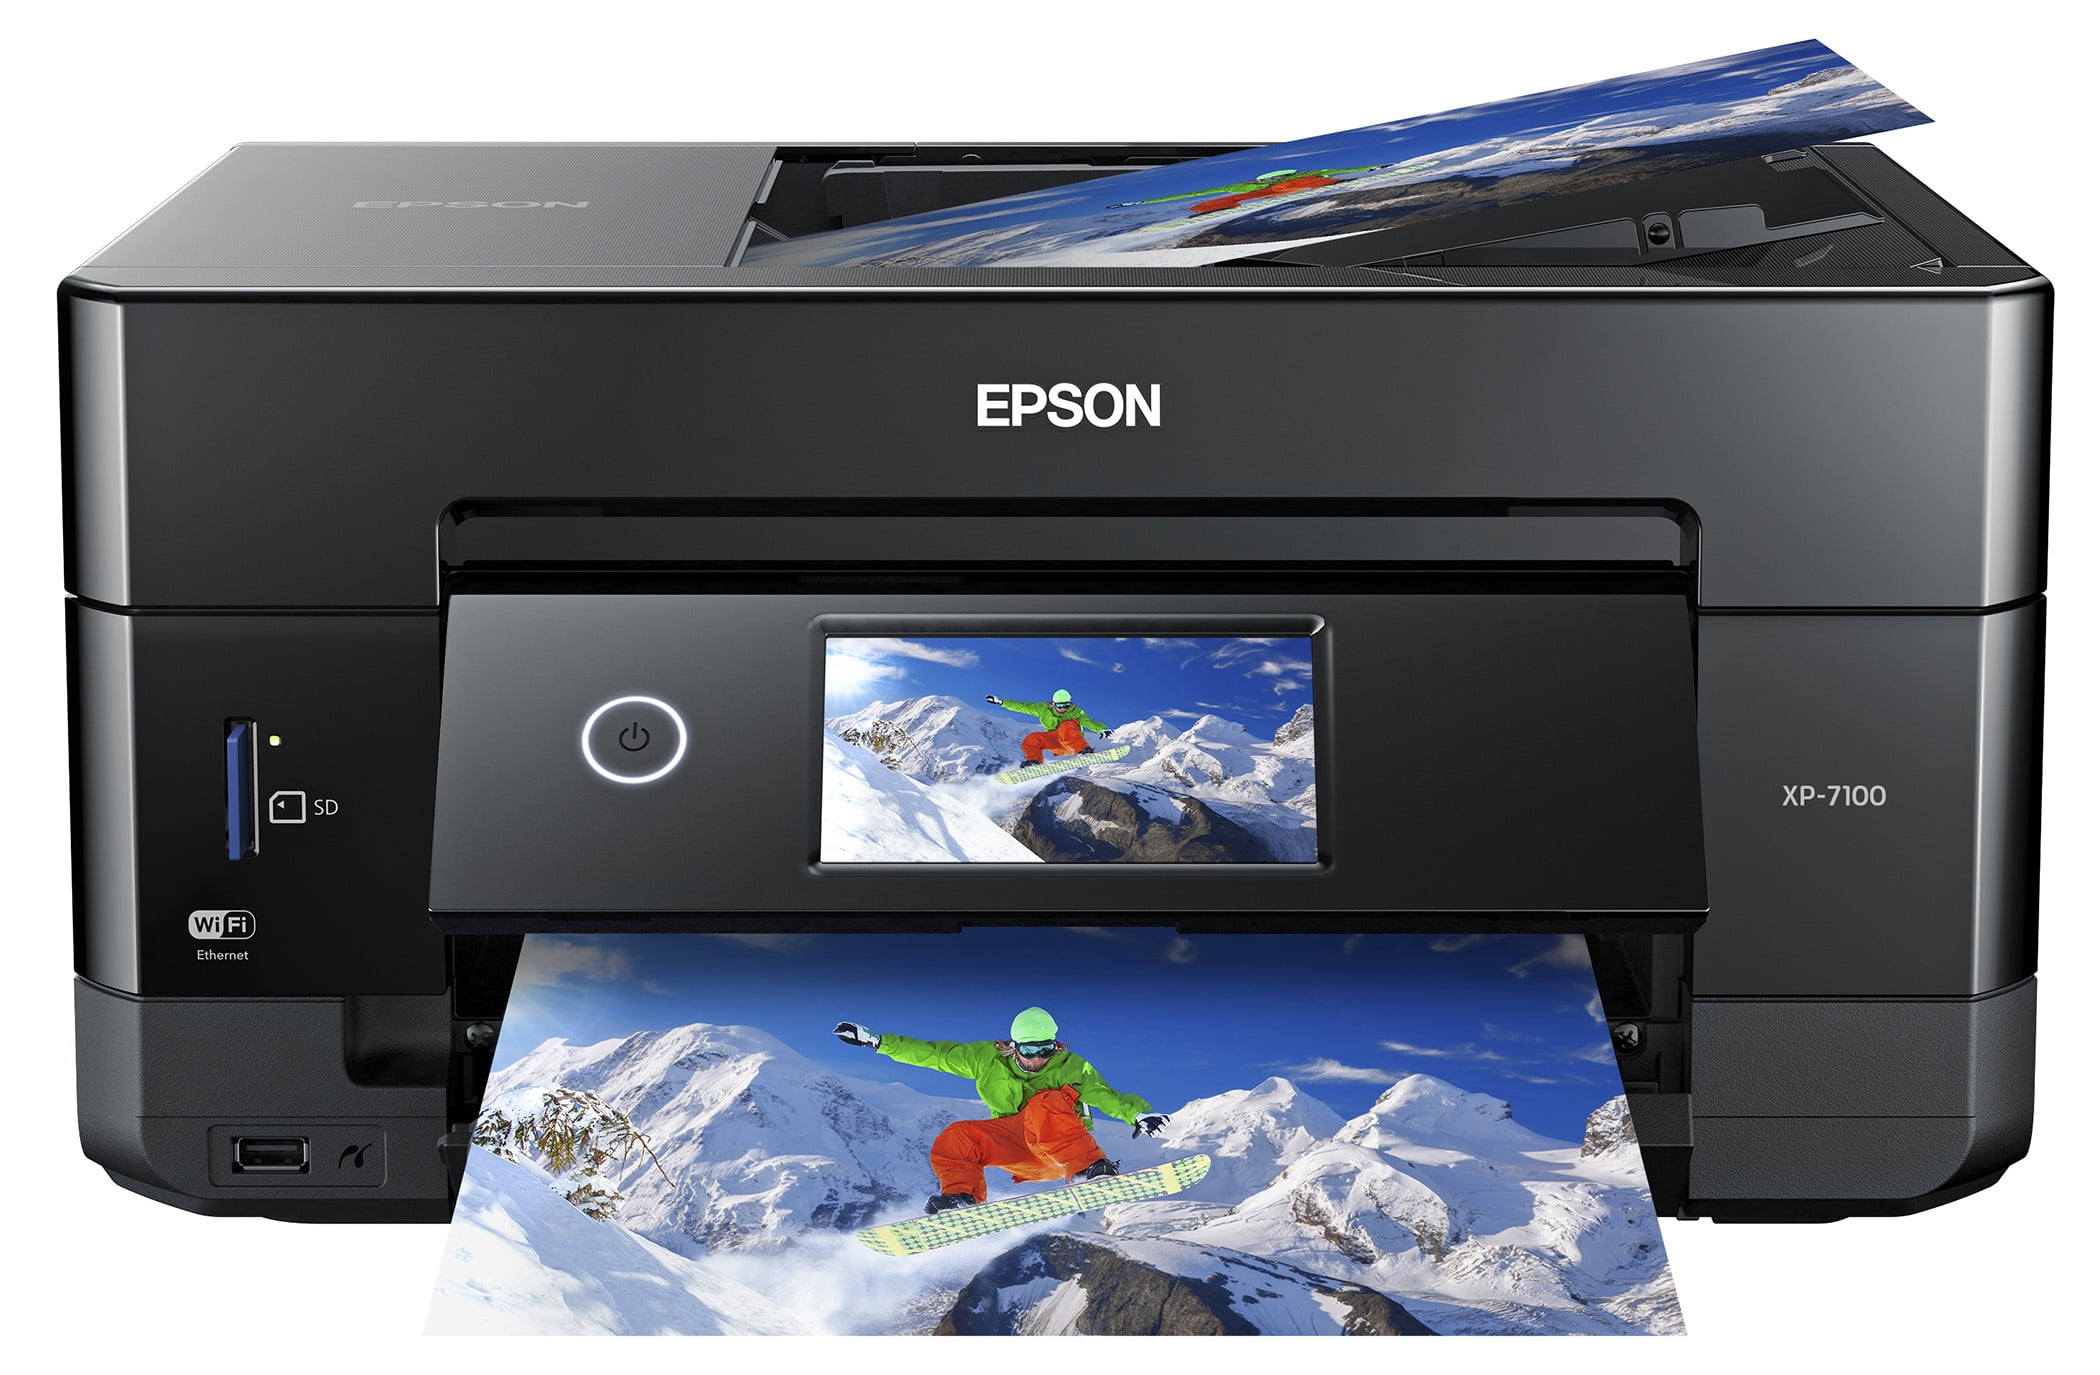
The Epson Expression Premium XP-7100 is a fantastic choice for anyone looking to print stickers at home. Its key strengths lie in its print quality, ink system, and paper handling capabilities. This all-in-one printer boasts a 5-color Claria Premium Ink system, which includes a pigment black for sharp text and four dye-based inks (Cyan, Magenta, Yellow, and Photo Black) for incredibly vibrant and lifelike photos and graphics. This combination is crucial for stickers, as it ensures your designs pop with rich colors and crisp details, whether you're printing intricate illustrations or bold typography. Furthermore, the XP-7100 offers versatile paper handling. It features a dedicated photo tray, a main paper tray, and a rear specialty paper feed. This rear feed is particularly useful for sticker paper, as it allows for a straighter paper path, reducing the risk of jams and ensuring even ink distribution on thicker media. Its ability to print borderless photos up to 8" x 10" also translates well to borderless sticker designs, giving your creations a professional finish. With its high resolution and precise droplet placement, you can confidently print stickers at home with your Epson XP-7100, knowing you'll achieve professional-looking results.Essential Materials for Sticker Printing at Home
To embark on your sticker-making adventure, you'll need more than just your printer. Gathering the right materials is crucial for quality results. * **Sticker Paper:** This is the most critical component. Sticker paper comes in various finishes and types: * **Matte Sticker Paper:** Offers a non-glossy, natural look. Great for a more understated or artistic feel. It's generally easier to write on. * **Glossy Sticker Paper:** Provides a shiny, vibrant finish that makes colors pop. Ideal for eye-catching designs and often more water-resistant. * **Vinyl Sticker Paper:** Durable, waterproof, and tear-resistant. Perfect for outdoor use, water bottles, or anything that needs to withstand wear and tear. It's often slightly thicker and more expensive but offers superior longevity. * **Clear Sticker Paper:** Allows the surface underneath to show through, creating a unique "no-label" look. * **Removable vs. Permanent Adhesive:** Choose based on your sticker's intended use. Removable adhesives are great for temporary decorations, while permanent ones are for long-term application. Ensure the sticker paper is compatible with inkjet printers, as laser printer paper has a different coating. Check the paper's specifications for recommended printer types. * **Epson Claria Premium Ink Cartridges:** Always use genuine Epson ink. While third-party inks might seem cheaper, they can clog print heads, lead to inconsistent color output, and potentially damage your printer. The Claria Premium inks are specifically formulated for the XP-7100 to deliver optimal color accuracy and longevity. * **Design Software:** As discussed in the next section, you'll need software to create or edit your sticker designs. * **Cutting Tools:** Depending on your preference, this could be a craft knife, scissors, or a dedicated cutting machine (like a Cricut or Silhouette). * **Cutting Mat (if using a craft knife):** Protects your work surface and helps with precise cuts. * **Ruler:** For straight cuts if cutting manually. * **Laminating Sheets (Optional):** For added durability, water resistance, and UV protection, especially for vinyl stickers that will be exposed to the elements. You can find self-adhesive laminating sheets or use a laminator.Designing Your Stickers: Software and Tips
The heart of any great sticker lies in its design. Whether you're a seasoned graphic designer or a complete novice, there are tools and techniques to help you create stunning visuals.Choosing the Right Design Software
The software you choose depends on your skill level and the complexity of your designs. * **Beginner-Friendly Options:** * **Canva:** An excellent online tool with a vast library of templates, elements, and fonts. It's intuitive, drag-and-drop, and perfect for quick, attractive designs without needing advanced design skills. You can easily export your designs as high-resolution PNG or JPG files. * **PicMonkey/Fotor:** Similar to Canva, offering user-friendly interfaces for photo editing and basic graphic design. * **Intermediate to Advanced Options:** * **Adobe Illustrator:** The industry standard for vector graphics. Ideal for creating scalable designs that won't pixelate when resized. Perfect for logos, illustrations, and intricate artwork. * **Adobe Photoshop:** While primarily for raster images (photos), Photoshop can be used for sticker design, especially if your stickers incorporate photographic elements. Be mindful of resolution to avoid pixelation. * **Procreate (iPad):** A powerful digital illustration app popular among artists for creating hand-drawn designs. * **Inkscape (Free Vector Software):** A free, open-source alternative to Adobe Illustrator, offering robust vector design capabilities.Design Principles for Stunning Stickers
* **High Resolution:** Always design at a high resolution (at least 300 DPI - dots per inch) to ensure crisp, clear prints. If your source image is low resolution, it will look blurry or pixelated when printed. * **CMYK vs. RGB:** Printers use CMYK (Cyan, Magenta, Yellow, Black) ink, while screens display RGB (Red, Green, Blue). Design in CMYK mode if your software allows, as this will give you a more accurate representation of how your colors will appear when printed. If you design in RGB, there might be slight color shifts when printed. * **Bleed and Cut Lines:** If you plan to cut your stickers precisely, especially with a cutting machine, include a "bleed" area. This is extra design material that extends beyond your intended cut line. This prevents white edges if your cut is slightly off. Also, mark your cut lines clearly. * **Simplicity and Readability:** Stickers are often small. Keep your designs relatively simple and ensure any text is large enough and clear enough to read at a glance. * **Test Prints:** Before printing a full sheet, do a small test print on a regular paper to check colors, size, and layout. This saves valuable sticker paper and ink. * **Capturing Screen Content:** Sometimes, you might want to print a screen exactly as you see it. For instance, if you have a long conversation or a complex layout you want to turn into a sticker. You can take screenshots (on Windows 11, try restarting your computer, checking keyboard settings to ensure the print screen function is enabled, and updating windows to fix the print screen key if it's not working) or copy and paste content into a note-taking app like OneNote, and then print from there. This is a workaround if direct printing from certain applications is problematic.Preparing Your Epson XP-7100 for Sticker Printing
Before you hit print, a few preparatory steps will ensure the best results. 1. **Load Sticker Paper Correctly:** The Epson XP-7100 has multiple paper trays. For sticker paper, especially thicker vinyl, use the rear specialty paper feed. This minimizes bending and ensures a smoother path. Load the paper print-side down (or according to the paper manufacturer's instructions, as some may differ). Ensure the paper guides are snug against the edges of the paper to prevent skewing. 2. **Check Ink Levels:** Make sure you have sufficient ink, especially for all five colors. Running out of ink mid-print can ruin a sheet of sticker paper and potentially cause banding. 3. **Clean Print Heads (if necessary):** If you haven't printed in a while, or notice any lines or missing colors in your test prints, perform a print head cleaning from your printer's utility software or control panel. 4. **Printer Driver Settings:** This is crucial for optimal print quality. * **Access Print Preferences:** When you go to print your design (usually File > Print in your design software), click on "Printer Properties," "Preferences," or "Print Settings." * **Paper Type:** Select the correct paper type. This is vital because the printer adjusts ink density and drying time based on this setting. Look for options like "Premium Photo Paper Glossy," "Premium Photo Paper Matte," or "Other Specialty Paper." If your specific sticker paper isn't listed, choose the closest match (e.g., "Glossy Photo Paper" for glossy sticker paper). * **Print Quality:** For stickers, always choose the highest quality setting, such as "Best Quality" or "Photo Quality." This will use more ink and take longer, but the results will be significantly better. * **Borderless Printing:** If your design is meant to go to the edge of the paper, select the "Borderless" option. * **Orientation:** Ensure the orientation (Portrait or Landscape) matches your design.The Printing Process: Step-by-Step Guide
Once your design is ready and your printer is prepared, it's time to bring your stickers to life. 1. **Open Your Design:** Open your sticker design file in your chosen software (e.g., Canva, Photoshop, Illustrator). 2. **Access Print Dialog:** Go to "File" > "Print" (or Ctrl+P/Cmd+P). 3. **Select Your Printer:** Ensure "Epson XP-7100" is selected from the list of available printers. 4. **Configure Print Settings:** Click on "Printer Properties," "Preferences," or "Print Settings" to open the driver settings window. * Re-confirm the paper type (e.g., "Premium Photo Paper Glossy"). * Set print quality to "Best Quality" or "Photo Quality." * Enable "Borderless" if desired. * Adjust any other settings like color management if you have specific profiles. 5. **Review Print Preview:** Most software offers a print preview. Take a moment to check that your design fits the page, the orientation is correct, and nothing is cut off. 6. **Initiate Print:** Click "Print." The Epson XP-7100 will now begin printing your stickers. Be patient, especially with high-quality settings, as it will take longer than printing a regular document. Once printed, carefully remove the sheet from the output tray. Allow the ink to dry completely before handling or cutting, typically for at least 10-15 minutes, or even longer for heavy ink coverage on glossy paper, to prevent smudging.Cutting Your Stickers: Manual vs. Machine
Once your stickers are printed and the ink is dry, the final step is cutting them out. You have two main options: manual cutting or using a dedicated cutting machine.Manual Cutting Techniques
Manual cutting is cost-effective and perfectly fine for simple shapes or small batches. * **Scissors:** Best for simple shapes like squares, rectangles, or circles. For intricate designs, they can be challenging to use precisely. * **Craft Knife (X-Acto knife) and Cutting Mat:** For more precise and intricate cuts, a craft knife is invaluable. Place your printed sticker sheet on a self-healing cutting mat. Use a metal ruler as a guide for straight lines. Take your time and apply even pressure. For curved shapes, you can freehand or use a stencil. * **Hole Punches:** For perfect circles of specific sizes, a craft hole punch can be very useful. **Tips for Manual Cutting:** * **Sharp Tools:** Always use sharp scissors or a fresh blade in your craft knife for clean cuts. Dull blades can tear or fray the paper. * **Good Lighting:** Work in a well-lit area to see your cut lines clearly. * **Practice:** If you're new to manual cutting, practice on some scrap paper first. * **Print Cut Lines:** If your design software allows, print faint cut lines or crop marks on your sticker sheet to guide your cuts.Leveraging a Cutting Machine
For large batches, complex shapes, or professional-looking kiss-cut (where only the sticker layer is cut, not the backing) or die-cut (cut through both layers) stickers, a cutting machine like a Cricut or Silhouette is a worthwhile investment. * **Print-Then-Cut Feature:** These machines have a "print-then-cut" feature. You print your design on your Epson XP-7100 with registration marks (small black squares or lines printed in the corners of your sheet). * **Machine Scans Marks:** The cutting machine's optical sensor then scans these marks to precisely locate your design on the paper. * **Precise Cutting:** The machine then cuts around your design with incredible accuracy. * **Software Integration:** You'll use the machine's proprietary software (e.g., Cricut Design Space, Silhouette Studio) to set up your designs for cutting. This often involves importing your image, adding an offset for a border, and then setting the cut lines. While there's an initial learning curve and investment, a cutting machine significantly elevates the quality and efficiency of your sticker production, making it a fantastic companion to your Epson XP-7100 for serious sticker enthusiasts or small businesses.Troubleshooting Common Printing Issues with Your Epson XP-7100
Even with the best preparation, printing can sometimes be frustrating. Here are solutions to common issues you might encounter when you print stickers at home with your Epson XP-7100, drawing on experiences like "printing 1 of 1" stuck jobs or Excel freezing.Printer Stuck on 'Printing 1 of 1' or Freezing
This is a common and highly frustrating issue. You try to print, and it gets stuck with a 'printing 1 of 1' notification on the screen. Sometimes, the application you're printing from (like Excel) freezes, and you can't close it unless you end the task. This often happens when a print job gets corrupted or the printer driver isn't communicating correctly. **Solutions:** 1. **Cancel the Print Job:** * Go to "Start" > "Settings" (or press Windows + I). * Navigate to "Bluetooth & devices" > "Printers & scanners." * Click on your Epson XP-7100. * Click "Open print queue." * Right-click on the stuck print job(s) and select "Cancel." If it doesn't cancel, try "Restart." 2. **Restart Printer and Computer:** * **Turn off the printer using the power button.** Wait about 30 seconds, then turn it back on. * Restart your computer. This often clears temporary glitches. 3. **Clear Print Spooler:** This is a more aggressive but often effective step. * Search Windows for "Run" and click the "Run Windows application" in the list of results. * Type `services.msc` and press Enter. * In the Services window, find "Print Spooler." * Right-click "Print Spooler" and select "Stop." * Now, open File Explorer and navigate to `C:\Windows\System32\spool\PRINTERS`. Delete all files in this folder (these are your stuck print jobs). You might need administrator permissions. * Go back to the Services window, right-click "Print Spooler," and select "Start." 4. **Update Printer Drivers:** Outdated or corrupted drivers are a frequent cause of printing errors or stuck print jobs. * Visit the official Epson support website for the XP-7100. * Download and install the latest drivers for your operating system. * Sometimes, completely uninstalling the old driver and then installing the new one is necessary. 5. **Check Connectivity:** Ensure your printer is properly connected to your computer (USB cable secure, or Wi-Fi connection stable)."Finding Available Printers" Issue
Another common scenario is when you go to print a file (e.g., an Excel file), you get to the print screen, and under the printer, it says "finding available printers." Nothing happens if you wait, but if you hit print, it freezes. This indicates a communication breakdown or a driver issue. **Solutions:** 1. **Check Printer Status:** Ensure your Epson XP-7100 is turned on and not displaying any error lights. 2. **Verify Network Connection:** If connected via Wi-Fi, ensure both your computer and printer are on the same network. Try restarting your router. 3. **Re-add Printer:** * Go to "Start" > "Settings" > "Bluetooth & devices" > "Printers & scanners." * Select your Epson XP-7100 and click "Remove device." * Then click "Add a printer or scanner" and follow the on-screen prompts to re-add your printer. Windows should automatically detect it. 4. **Check Print Management:** For some reason, if you can't find Print Management on your computer (it's usually in Administrative Tools), you can still manage drivers via Device Manager. * Right-click the Start button and select "Device Manager." * Expand "Print queues," right-click your Epson XP-7100, and select "Update driver." If that doesn't work, try "Uninstall device" and then restart your computer to let Windows reinstall it. 5. **Print from Different Applications:** The issue might be specific to one application (e.g., "The issue is only present when printing by going to file, print" in Excel). * Try printing from a different application (e.g., a PDF viewer, a web browser, or even from Outlook if you're trying to print an email). If you can print from other sources, the problem lies with the specific application's integration with the print system. * To work around this limitation, you might need to print each file type separately. For example, to print PDF files in a folder, you can type `*.pdf` in the search box at the upper right of File Explorer, select them, and then print. This ensures the system handles each file type appropriately. 6. **Software-Specific Solutions:** If only one program freezes (e.g., Excel), try repairing or reinstalling that specific application. Ensure the application itself is updated to the latest version. By systematically going through these troubleshooting steps, you can resolve most common printing issues and get back to creating beautiful stickers with your Epson XP-7100.Tips for Long-Lasting Stickers and Maintenance
To ensure your stickers look great and last a long time, and to keep your Epson XP-7100 in top condition, consider these tips: * **Lamination for Durability:** For stickers that will be exposed to water, sunlight, or heavy handling (like on water bottles, laptops, or cars), consider laminating them after printing and before cutting. Self-adhesive clear vinyl laminating sheets are easy to apply and provide an excellent protective layer against fading, scratches, and water damage. * **Proper Storage of Sticker Paper:** Store unused sticker paper in its original packaging or a sealed bag in a cool, dry place away from direct sunlight. Humidity and light can affect the paper's coating and adhesive. * **Printer Maintenance:** * **Regular Use:** Print something at least once a week to prevent ink from drying in the print heads. Even a simple test page helps. * **Genuine Ink:** As mentioned, always use genuine Epson Claria Premium ink cartridges. They are designed to work perfectly with your XP-7100 and prevent clogs. * **Clean Print Heads:** If you notice streaking or missing colors, run the print head cleaning utility. If that doesn't work, try a nozzle check and then a more powerful head cleaning cycle. * **Firmware Updates:** Periodically check the Epson support website for firmware updates for your XP-7100. Firmware updates can improve performance, fix bugs, and enhance compatibility. * **Clean Exterior:** Keep the exterior of your printer clean, especially around the paper trays, to prevent dust and debris from entering the mechanism. * **Application Surface:** For best adhesion, ensure the surface you're applying the sticker to is clean, dry, and smooth. Oils, dust, or textured surfaces can prevent the sticker from sticking properly. By following these guidelines, you'll not only create high-quality, durable stickers but also extend the life and efficiency of your Epson XP-7100, ensuring it remains a reliable tool for all your creative projects.Conclusion
Printing stickers at home with your Epson XP-7100 is an incredibly rewarding and cost-effective way to unleash your creativity. From personalizing your gear to crafting unique products for a small business, the possibilities are endless. We've covered everything from selecting the right materials and mastering design principles to navigating the printing process and troubleshooting common issues that might arise. Remember, patience and practice are key, especially when dealing with the nuances of printer settings and paper types. Don't let minor technical glitches deter you; with the troubleshooting steps provided, you can overcome common hurdles like stuck print jobs or "finding available printers" errors, ensuring your creative flow remains uninterrupted. Embrace the power of your Epson XP-7100 and start transforming your digital designs into tangible, vibrant stickers today. What kind of stickers are you excited to print first? Share your ideas and experiences in the comments below, or let us know if you have any other tips for fellow sticker enthusiasts! If you found this guide helpful, consider sharing it with friends who might also be looking to dive into the world of home sticker printing. Happy sticking!